5 Speedy Spooky Retro Paper Crafts to do This Halloween

When was the last time you set aside some time to create just for the fun of it? Inspired by the fact that one of the first projects I tried to make for this blog looked like a child had made it, I decided to lean into and enjoy some “kids” paper crafts, without worrying whether the finished result was Instagram-worthy! What a revelation!
Here’s five speedy spooky projects to make with our autumnal dot grid papers that’ll take you back to a childhood Sunday afternoon well spent…

Paper Chains
Paper chains are an absolute classic and just bursting with retro charm! You may recall that I included paper chains in last year’s Halloween washi tape blog, but I couldn’t resist making them again.

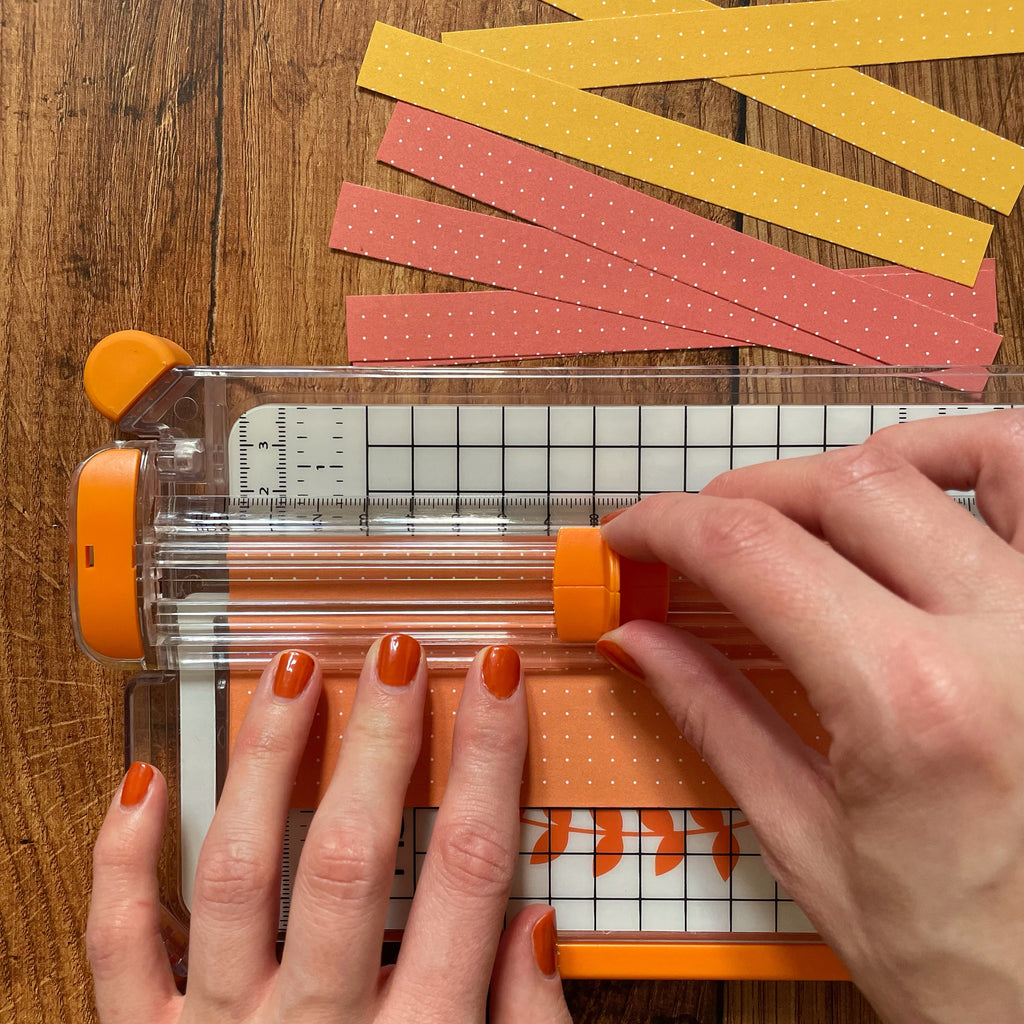
The dot grid makes it super easy to keep your strips a consistent width, whether you’re using a guillotine or cutting by hand. I used the width of the paper x 1.5cm, and joined them with a Tombow Mono Glue Roller for speediness.

I draped mine across my autumnal sideboard display but these would also look cute hung from the ceiling, across the top of picture frames or wrapped around a mini Christmas or Halloween tree!

Paper Leaves
I had a lot of fun making rainbow paper palm leaves in August’s blog post, and used a slightly different method to make these red, orange and yellow folded paper leaves. Here’s how I divided up my A5 sheet to get minimal waste, and how I folded each piece:

You can also make a slightly larger leaf by cutting your page up like this. The two tall thin triangles either side of the centre are the only bits that don’t get used:

Once you’ve finished your horizontal folds - again, the dots are super helpful for keeping your folds even - fold your leaf shape in half, and glue along the centre strip to secure. If you want to hang these, don’t glue right into the centre, and this will give you a little gap for string.

This is a great craft to do in front of the TV, and once you’ve started making these, chances are you’ll end up with loads! Here’s a few ideas for how to use your leaves to decorate:
-
Thread them onto string to create a garland to hang from a curtain pole or wrap around the banister
-
Make this adorable wall hanging using a dowel rod and string
-
Glue them onto greetings cards
-
You could also incorporate them into a wreath or garland with some paper flowers - see below

Paper Flowers
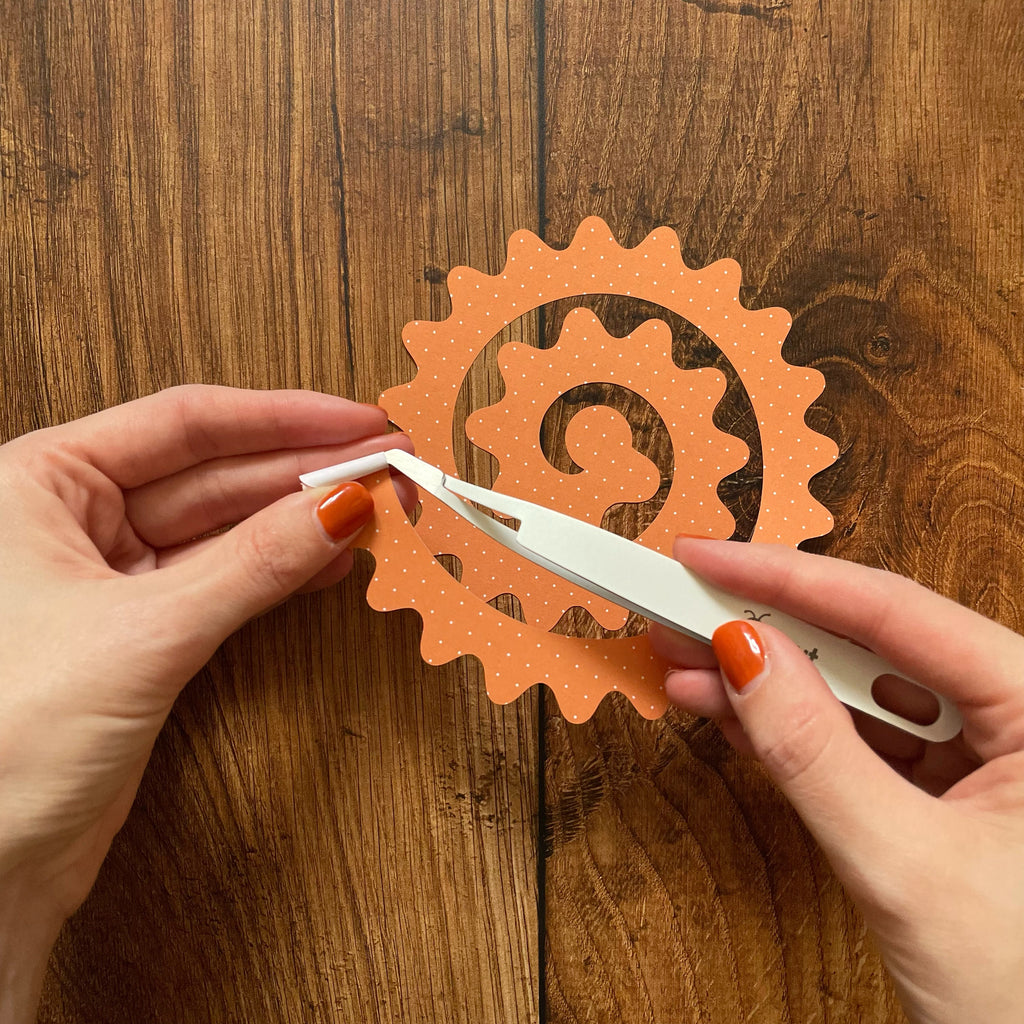
These are one of my new favourite things to make, and so much easier than I thought! I used my Cricut to cut the shapes, but there’s plenty of printable templates online if you don’t have a digital cutting machine. Just Google “rolled paper flower”.

I tried a few different methods and found it easiest to hold my flower with a pair of reverse action tweezers, but you can roll these by hand, or around a pencil if you prefer. Start rolling from the outside edge, in.

Once rolled, allow it to unroll a little on your hand, until it gets to your desired size, then glue the circular shape at the end onto the base. I found hot glue the easiest to work with as it dries quickly, but you only need a very small amount. You can curve the petals out a little if you prefer.

Once you’ve made a few flowers you could add wire to the bases and arrange them in a vase, or glue them onto a twig wreath, as I did here. I think the dots and one-sided colour adds a really interesting effect to these paper flowers and I’ll definitely be making more!

Paper Lanterns
This is another craft that takes me back as I absolutely used to LOVE making these as a kid. All you need to do is fold a piece of paper in half lengthwise, and make even cuts - thank you dot grid for making this easier- along the folded edge, approximately 1cm from the other edge:

Attach the short ends, then add a handle. Ta-da! I made adorable mini ones which I used to decorate my mini Halloween tree, but you could also thread them onto string to use as a garland, or make slightly larger ones and add battery operated tea lights.

Fortune Tellers
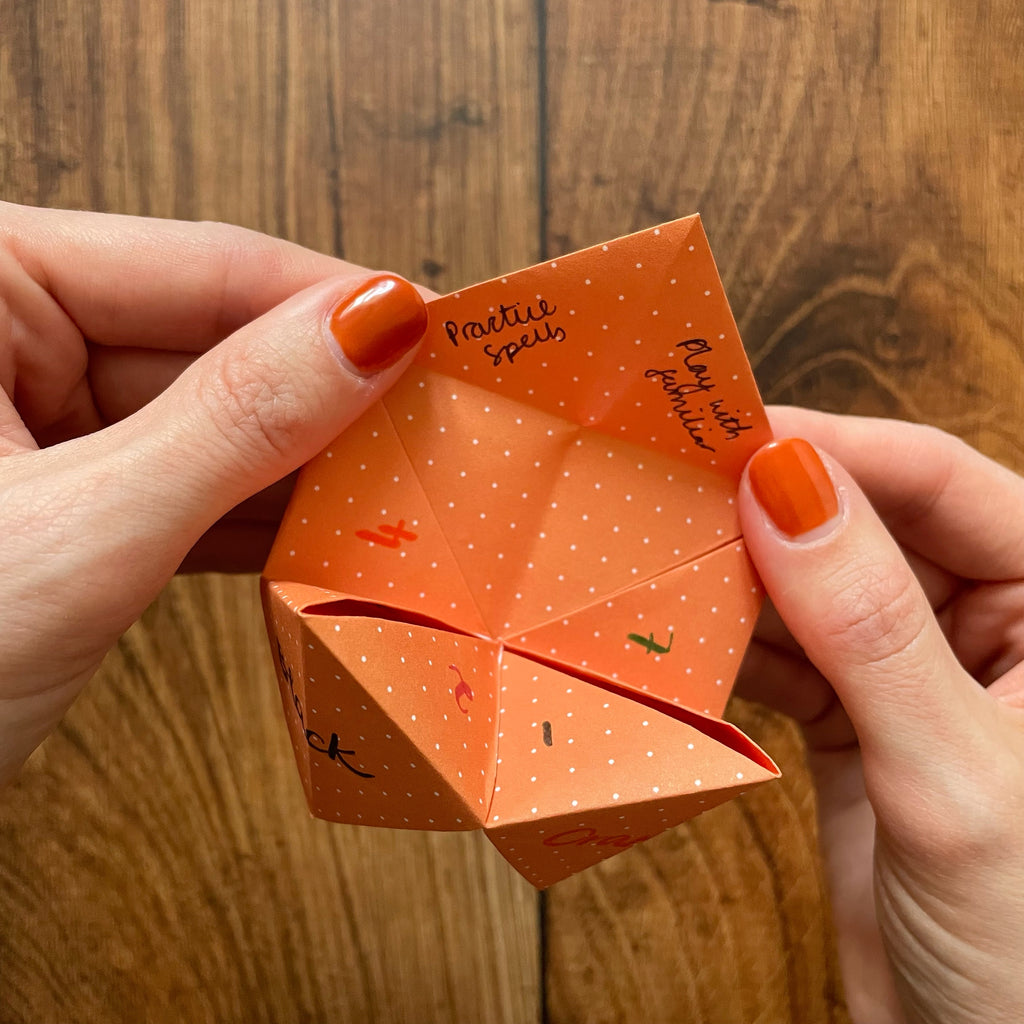
This might be my favourite craft in this blog post so big thanks to Nikki for suggesting it! My boyfriend was equally delighted when he got to have a turn, because we’re all just big kids at heart. I was pleased to see that I hadn’t forgotten how to make these, but in case you have:

Source: Wikipedia
I stuck with a spooky theme and wrote my “Halloween” colours and numbers with a Pentel Fude Touch brush pen.

I filled mine with witchy activities:
-
Carve a pumpkin
-
Make a potion
-
Practice spells
-
Play with familiar
-
Fly on a broomstick
-
Dance in moonlight
-
Scare children
-
Decorate witches’ hat… I might’ve been running of ideas by this point…

If you’ve made an autumn or Halloween bucket list with fun ways to celebrate the season, this could be a fun way to decide between them!

I hope this post has encouraged you to take some time out for creative play! If you’ve been inspired by any of the suggestions in this post, we’d love to see! Please tag @nikkissupplystore and #NikkisSupplyStore on Instagram for a chance to be featured in our newsletter or a future blog post. You can also follow me, @joy.margot, for more craft content and pictures of my cat.


