Stop Procrastinating and Start a Bullet Journal Today!

Did you plan to start bullet journaling this year but worried you’ve missed the boat? Fear not! One of the many wonderful things about bullet journaling is that you can start at any time of the year. I personally started in November 2020, which totally eradicated the unnecessary “new year pressure” it’s all too easy to feel when starting new habits in January. In fact, my Instagram feed has been full of posts suggesting that Spring is a much better time to start a new habit than the arbitrarily chosen 1st January of the Gregorian calendar.
Whenever you choose to start, I hope this blog post will help. I've drawn on the things I wish I knew when I started, and the questions I’m asked most often.

Bullet Journal Starter Kit - Yellow
First things first...
What IS a Bullet Journal?
It’s a totally customisable calendar-and-journal-in-one, designed to declutter the mind, and keep everything in one organised place. It was developed by Ryder Carroll in the late 1990s although he didn’t share it publicly until 2013.
Everyone’s bullet journal looks a little different but they’re most commonly used for short and long-term planning, reminders, to do lists and tracking goals, achievements and habits.

Why don’t you just use a planner or diary?
A very valid question and of course these options work brilliantly for many people! I never really got on with them and often abandoned them after a few weeks, and scribbled to do lists on scraps of paper and lost them. I wasn’t convinced that bullet journaling was for me either, but something just clicked and I’ve never looked back! I love having everything I need in one place and it makes my life and brain feel so much more organised and productive.
How do I start bullet journaling?
Bullet journaling is definitely something to learn by doing! It’s the only way to find out what works for you. I recommend watching this four minute video by Ryder Carrol which explains the basics and his personal method. I got really into watching bullet journal YouTube videos before I started, but I got rather swept up in the aesthetics and thinking everything had to look Pinterest-worthy which it absolutely doesn’t.
I’d recommend watching a couple of bullet journal set up videos to get an idea of how it works and what you might like to include, but try not to get overwhelmed or distracted by the aesthetics and decorations until you've nailed the basic method. You can always add those later if you choose to! It’s definitely worth leaving a few blank pages too in case you think of any spreads you want to add later.
Nikki has a couple of new journal set up videos on her YouTube channel here and here, and I also love Oh No Nina’s minimalist set ups.

What supplies do I need for bullet journaling?
Let’s start with the absolute basics: A notebook or journal and something to write with! Many people choose a dot-grid journal as this lends itself to creating custom layouts, but you can use a plain or lined journal if you prefer. I splashed out on an Archer & Olive dot grid for my first journal as I knew that investing in something beautiful would make me more likely to stick to it, but you may want to use what you have or choose a more budget-friendly option to begin with, such as this Bruynzeel dot grid journal. Unlike many cheaper journals, this one has lovely thick 140 gsm paper, which is a must for the heavy-handed among us.

Bruynzeel Dotted Bullet Journal
Depending on the number of pages you use each month, a single journal could last you from three to twelve months. My first one lasted me around eight months as I mostly used weekly planning spreads, but these days I start a new journal every six months.
I’ve gone back and forth on my favourite pens for bullet journaling, but I’m currently loving Uni Pin fine liners for lines and illustrations, and Pentel Energel for writing.
Once you’ve got the basic system down, it can be a lot of fun to decorate your journal if you’re that way inclined! I’ve shared more about my favourite supplies here.

What should I include in my bullet journal?
Whatever you like! There’s definitely some “staple” pages that most bullet journalers include, but I find it so useful to track less obvious things like how often I get tonsillitis (spoiler: a lot), books I’ve read and how often I buy new clothes and wear them.
I added the following spreads to the start of my current journal:
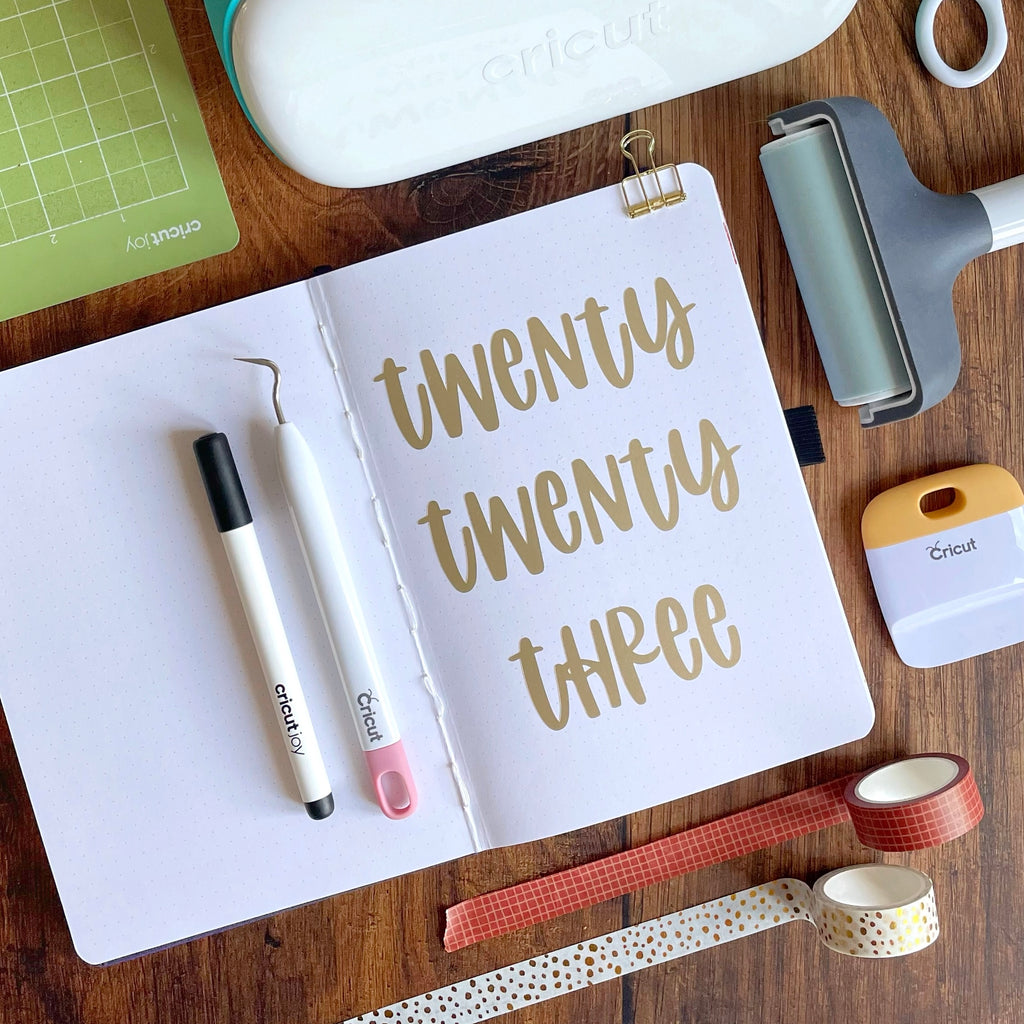
- 2023 title page
- Future log
- Theme ideas
- Symptom tracker
- Reading log
- Wish list
- New clothes tracker
- Goals
- Achievements
- Content ideas

You can watch me set up my 2023 journal and see a flip-through here, and you can see more spreads from my mid-2022 journal set up here.
In the past I’ve also included these spreads:
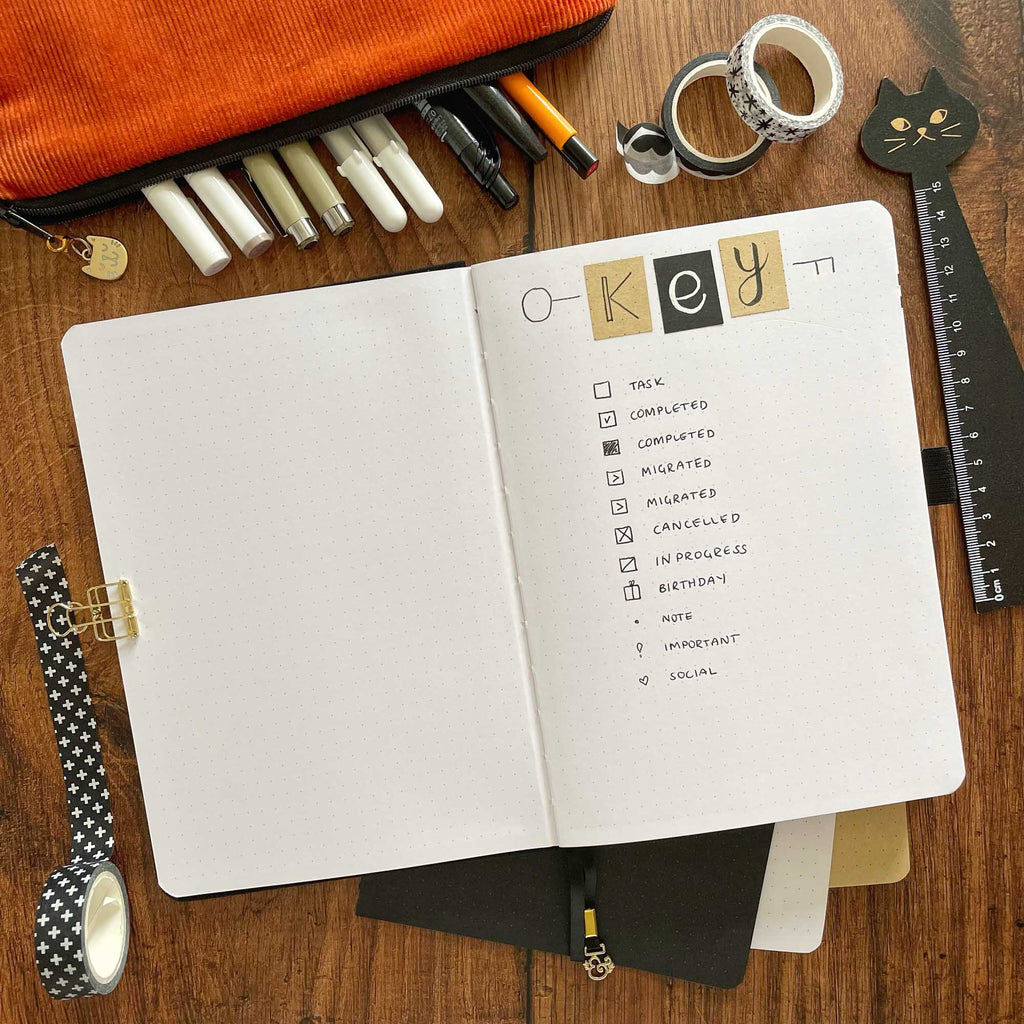
- Key
- Year in photos
- Things to check out
- Gift ideas

The key is definitely a helpful thing to have when you’re starting out, but I found that the way I used symbols evolved over time, and I only use these now:
- In progress
- Complete
- Cancelled
- Migrated (moved to another day)
- Birthday
I create the following pages at the start of every month:
- Cover page
- Monthly overview / calendar
- Freelance time sheets

A cover page is totally optional, but it’s a fun way to signify and celebrate the start of a new month and it doesn’t have to be anything fancy! I'd been wanting to do a dark academia theme for a while, and spent flipping ages tracing this design for my January cover page!
In the past I’ve also included:
- Habit trackers
- Brain dump
I wasn’t keeping up with my habit trackers, and I tend to add ad hoc notes pages when I need them rather than having a dedicated brain dump page.

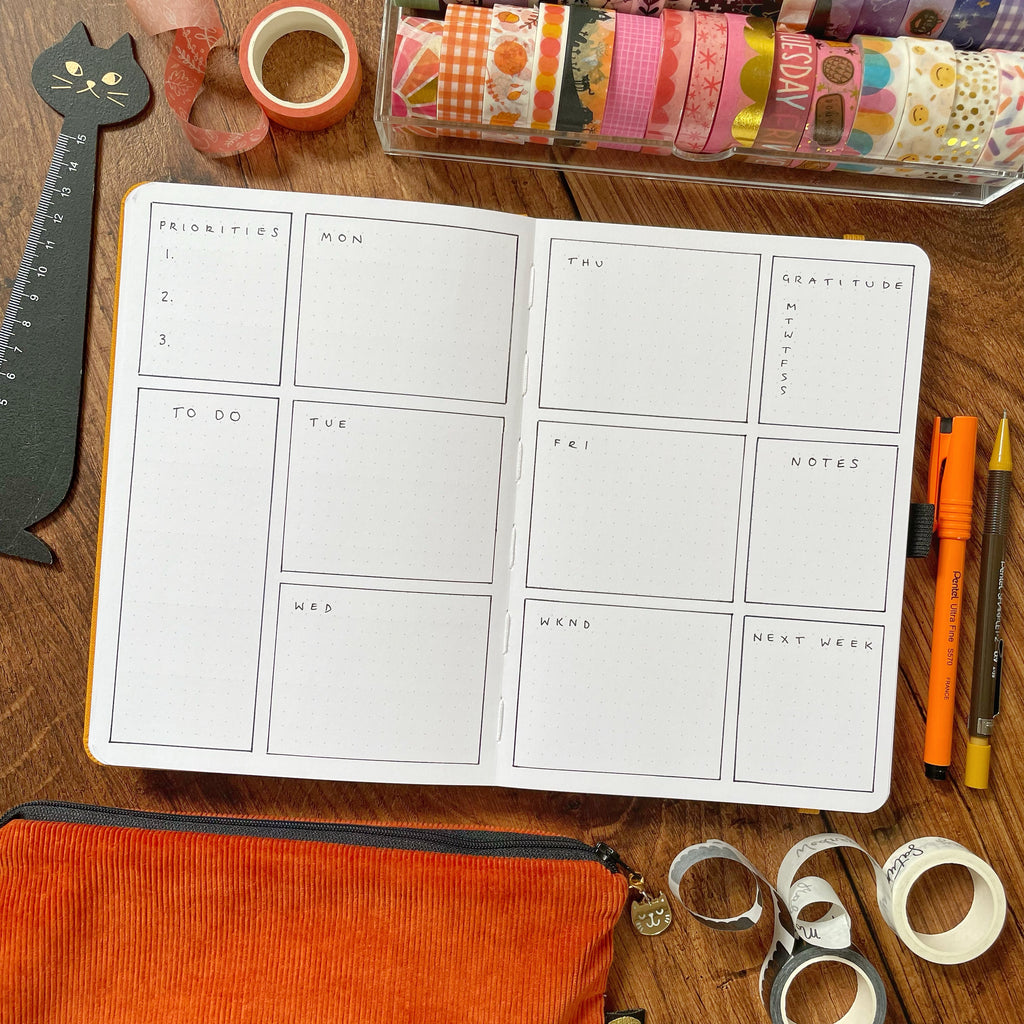
Next, I add my weekly spreads. I add them at the start of each new week, so I can include any extra pages I may need during the week, e.g. extra space for a particularly long or broken down to do list, or for planning a project. You can see some examples of minimalist weekly spreads here.
Bullet journal myth busting
"I can’t draw / I’m not arty"
This put me off starting for YEARS but the bullet journal method itself has absolutely nothing to do with drawing or fancy lettering! Ignore what everyone else is doing on YouTube and Pinterest, and do what’s right for you. I only started decorating mine after six months or so, but I only do it when I have the time and feel like doing it. I love creating a themed monthly cover page, but the rest of my spreads are usually very minimalist and messy!

"I don’t have time to bullet journal"
Decorating, doodling and fancy lettering are all totally optional, and you can keep your layout as minimalist as you want. Sure, the initial set up does take a little longer, but I genuinely believe that having a totally customised and optimised system in place makes me infinitely more organised and productive.
I generally spend an hour or two setting up a new month, which includes doodling or decoration. You could easily do it in less time if you didn’t! A weekly spread takes me about 5-10 minutes for something simple, although I sometimes spend longer decorating it if I’m feeling inspired.
"I’m scared I’ll make a mistake and ruin a nice journal"
I see this one a lot in the Archer & Olive Facebook group and while I totally get it, it’s worth remembering that it’s just paper! You WILL make mistakes, because everyone does, and that’s absolutely fine. I still get annoyed at myself when I mess up, but thankfully, there’s lots of ways to avoid and fix mistakes if you don’t fancy the “embrace the imperfections” approach. Check out my Correcting Bullet Journal Mistakes blog post for more details.

"It’s too expensive!"
It doesn’t have to be! Sure, there’s lots of beautiful stationery available but it’s entirely optional and you can choose whatever your budget allows, use what you have already, or pop some dream items on your birthday or holiday wish list.
I’ll leave you with my bullet journal top tips and a couple of key things to remember:
- I cannot emphasise this enough: START SIMPLE. You don’t need to spend hours on every page. You don’t need to decorate it. It doesn’t matter if you make mistakes or smudge your pen. All that matters is that it helps you.
- If something doesn’t work for you: Abandon it! Don’t stress about leaving spreads and trackers half-filled in. This is for you, and you only.
- Enjoy the process. If it feels like more hard work than it’s worth, pare it right back, and if that still doesn’t help, stop it entirely. It’s not for everyone!

I hope that’s given you a friendly kick up the backside to get started! Why not bookmark this page in case you need to refer back to it? If you’ve been inspired by any of the suggestions in this post, we’d love to see! Please tag @nikkissupplystore and #NikkisSupplyStore on Instagram, where you can find heaps more journaling and stationery inspiration. You can also follow me, @joy.margot, for more craft content and pictures of my cat, Juniper.


